Integrating kubeapps with Keycloak and Pinniped on the cloud can provide a secure and streamlined experience for managing applications in a Kubernetes environment. In this article, I will outline the steps involved in this integration that is used on our product Space LivingLab. By becoming an adopter of Kubeapps, DIH demonstrates its commitment to leveraging modern tools and technologies for efficient application deployment and management.
Components:
Keycloak is an open-source identity and access management (IAM) solution that provides a single sign-on (SSO) platform for web and mobile applications. Developed by Red Hat, Keycloak helps organizations secure their applications and services by managing user authentication, authorization, and user account management.
Kubeapps is an open-source web-based user interface (UI) that simplifies the deployment and management of applications on Kubernetes clusters. It is designed to provide an easy-to-use interface for developers and application administrators to discover, deploy, and manage applications in a Kubernetes environment.
Pinniped is an open-source authentication solution designed to simplify the integration of various identity providers (IDPs) with Kubernetes clusters. It acts as a pluggable authentication provider for Kubernetes, allowing users to authenticate against their preferred identity provider and obtain Kubernetes access tokens.The main goal of Pinniped is to provide a unified authentication experience for Kubernetes clusters, regardless of the underlying IDP used by each user. It aims to address the challenges of managing multiple IDPs and simplifies the configuration and management of authentication in Kubernetes environments.
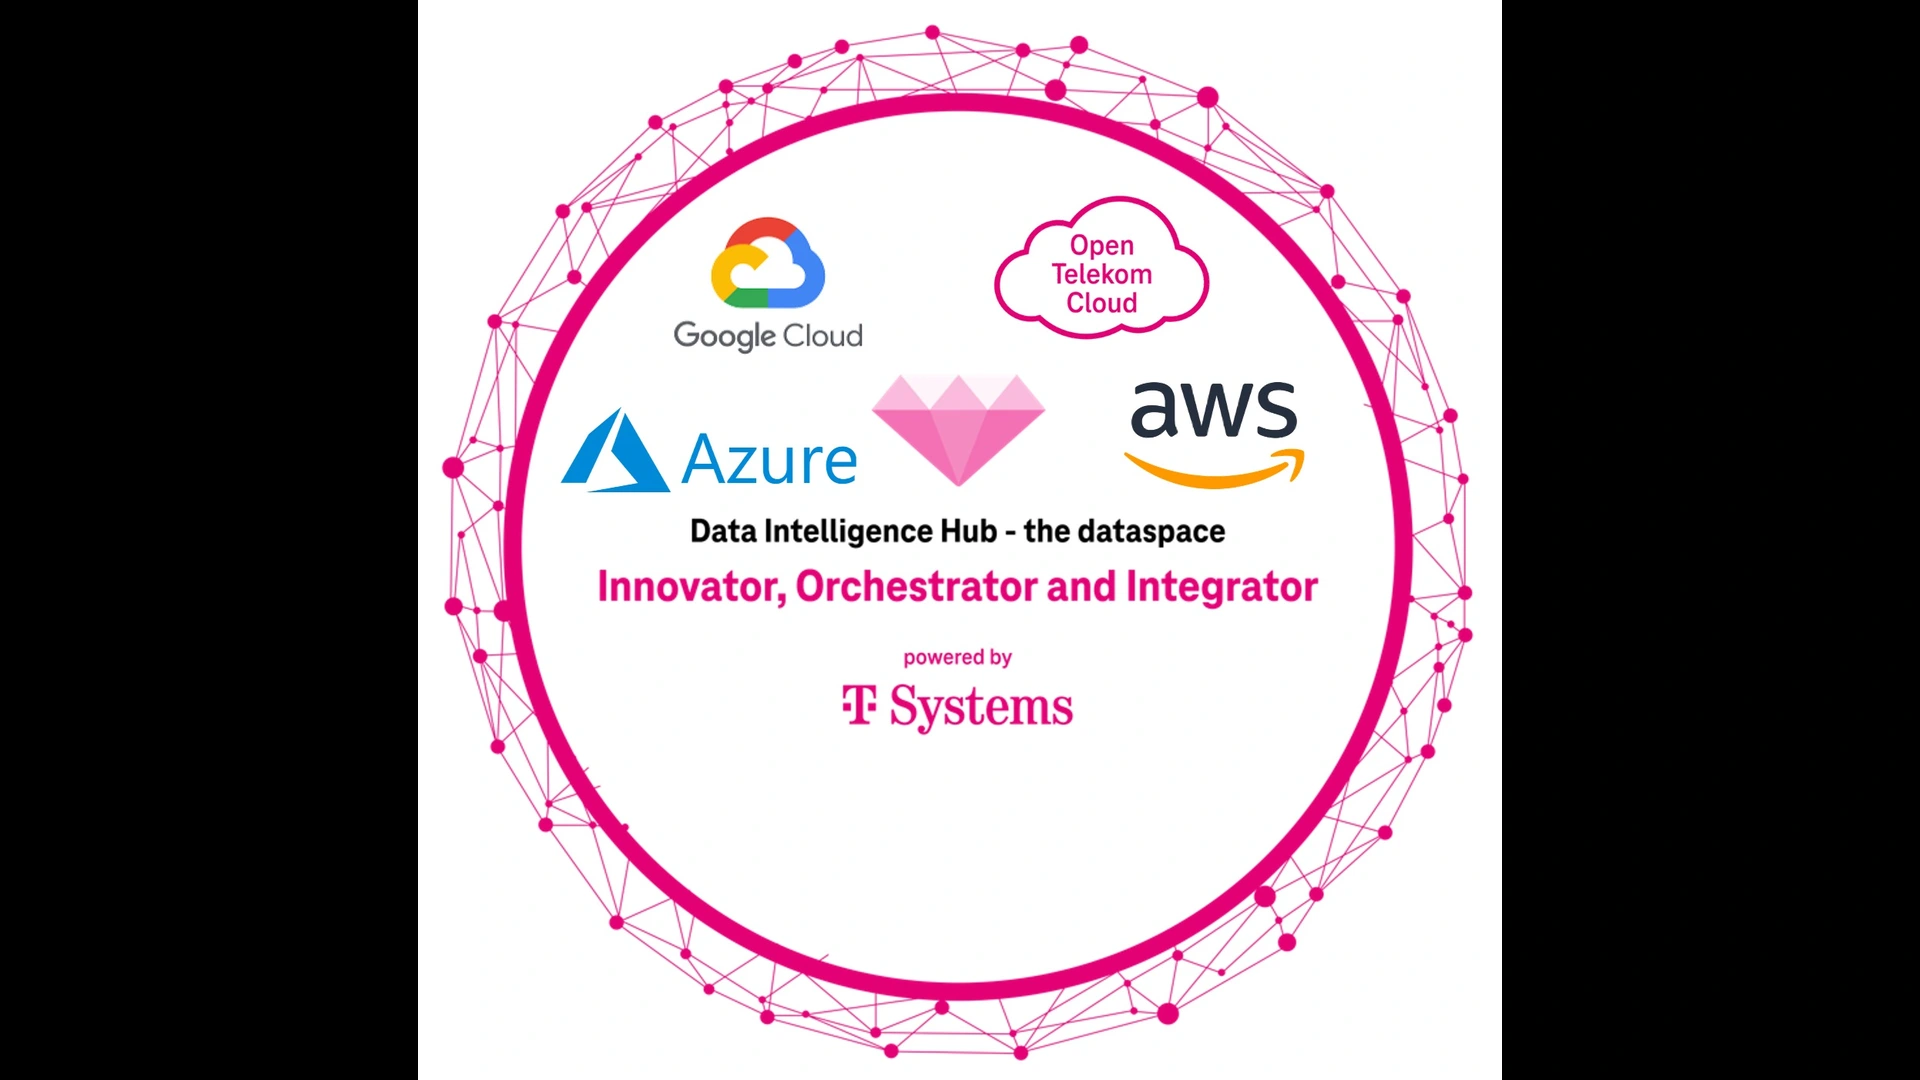
The architecture diagram shows the deployment of components on different cloud providers
Keycloak

- Click "Client Scopes" from the left navigator menu
- Click on "Create" from the table (top right corner)
- Provide a name, ensure the protocol is set to "openid-connect" and that the option "Include in Token Scope" is on.

Once the client scope is created, you should be redirected to a page with several tabs. Navigate to the "Mappers" tab as we need to create a mapper to populate the value of the associated claim:
- Click on the "Mappers" tab
- Click on "Create" from the table to create a new mapper
- Configure:
- Enter a name
- Select "Group Membership" as the claim type
- Enter "groups" as the token claim name
- Ensure the "Full group path" is OFF
- Keep the other knobs ON
- Click ‘Save'

Create Kubeapps Client on Keycloak
- Click "Clients" from the left navigator
- Click "Create" from the table
- Enter an "id" and Save (e.g. kubeapps)
Once created, configure the authentication as follows:- Ensure the protocol is set to "openid-connect"
- Configure the "Access Type" to be "confidential". This will add a new "Credentials" tab from which you can get the client secret
- Ensure "Standard Flow Enabled" is enabled, this is required for the login screen.
- "Direct Access Grants Enabled" can be disabled.
- In the "Valid Redirect URIs" field, enter "https://kubeapps.example.com/*" and "*" as a placeholder.
- Save

- Click the "Client Scopes" tab
- Ensure the "group" scope is available either in the "Assigned Default Client Scopes" list or the "Assigned Optional Client Scopes" list

Create a group
- Click "Groups" from the left navigator
- New, and the group name is kubeapps-admin

- Users must be configured with a "verified" email
- Make sure the user is assigned to kubeapps-admin group

Setup Pinniped
Create values.yaml file
concierge:
  enabled: true
  rbac:
    create: true
  credentialIssuerConfig: |
    impersonationProxy:
      mode: auto
      service:
        type: ClusterIP
supervisor:
  enabled: false
|
Install Pinniped
helm install pinniped oci://registry-1.docker.io/bitnamicharts/pinniped --values values.yaml -n kubeapps --create-namespace |
Create JWTAuthenticator.yaml file
---
apiVersion: authentication.concierge.pinniped.dev/v1alpha1
kind: JWTAuthenticator
metadata:
  name: jwt-authenticator
spec:
  issuer: https://id.example.com/realms/livinglab
  audience: kubeapps
  claims:
    username: email
    groups: groups
|
Create the JWT Authenticator
kubectl apply -f JWTAuthenticator.yaml |
Retrieving the Impersonation Proxy:
kubectl get credentialissuer -o json | jq -c '.items[].status.strategies[] | select( .type | contains("ImpersonationProxy")).frontend.impersonationProxyInfo.endpoint'
|
Note: take a copy of the endpoint, that use in the kubeapps values file
Retrieving the Impersonation Proxy CA:
kubectl get credentialissuer -o json | jq -c '.items[].status.strategies[] | select( .type | contains("ImpersonationProxy")).frontend.impersonationProxyInfo.certificateAuthorityData'
|
Note: take a copy of the certificate authority data, that use in the kubeapps values file
Setup Kubeapps
Create values.yaml file
ingress:
enabled: true
hostname: kubeapps.example.com
annotations:
cert-manager.io/cluster-issuer: letsencrypt-prod
nginx.ingress.kubernetes.io/proxy-buffer-size: 10k
nginx.ingress.kubernetes.io/proxy-read-timeout: "600"
tls: true
ingressClassName: nginx
authProxy:
enabled: true
skipKubeappsLoginPage: false
provider: oidc
clientID: kubeapps
clientSecret: XXXXXX # The secret in the credentials of the kubeapps client in keycloak
cookieSecret: XXXXXX # Create a random secret by $(echo "not-good-secret" | base64)
|
Install Kubeapps
helm install kubeapps bitnami/kubeapps --values values.yaml -n kubeapps --create-namespace |
In the last step we need to create a role binding to access the Kubernetes cluster, this group has the same name kubeapps-admin as the keycloak group
Create kubeapps-admin.yaml file
apiVersion: rbac.authorization.k8s.io/v1 kind: ClusterRoleBinding metadata: managedFields: - apiVersion: rbac.authorization.k8s.io/v1 name: kubeapps-admin-group roleRef: apiGroup: rbac.authorization.k8s.io kind: ClusterRole name: cluster-admin subjects: - apiGroup: rbac.authorization.k8s.io kind: Group name: kubeapps-admin |
Then
kubectl apply -f kubeapps-admin.yaml |
Finally, login to Kubeapps https://kubeapps.example.com

You will be redirected to keycloak

You will be redirected to kubeapps

References